After flying into Auckland, our plan foresaw to buy a backpacker van and to explore the beautiful country and stunning nature of New Zealand’s North and South Island. After a week of staying in three different b&b’s and checking out several camper vans, we decided to do the impossible and try to do it better. We decided to built our own one!
Previously, we checked out a camper van which was only 25 years old and with only 170’000 km on the clock. From the look of it everything seemed to be fine and we were already euphoric to buy the van for 10 k NZD… Pocket money! While Dom was already sure the van would make a great job, Em wanted to have the last proof and we arranged a check up at a local garage for 150 bucks. While the mechanics were doing their job, we did ours and had a nice coffee with the young French girl who was already the owner of a Cafe at the Cote D’Azure in France. Absolutely convinced her van would be the bomb, the mechanic convinced us of the opposite. He returned after an hour with a not so promising look on his face and listed the note of the failures like the movie “Never ending story”. We were not amused and after discussing our options we decided not to buy the van, especially since the French CEO still wanted to get her 10 grants for the luxury Cote D’Azure van with marine blue interiour. Sailor’s Ahoi!!!! However, we thought it might be fair to split the 150 bucks in between the two parties since the girl knew that her van was not the creme de la creme anymore. Quit quo pro… The French trendsetter obviously read the common rules in detail which basically said that in case of check ups the buyer had to pay for it, and she would not change her mind. Lesson learned: always negotiate the price of a van before doing the check up and let the owner pay for possible damages in case. The girl left the van at the garage for immediate repairment and went to a high society wedding up North of Auckland. High Fly…
Still interested in the value of the van we consulted the owner of the garage and promptly got the answer:
“Forget it! The mechanics of the van will not last and the engine will most likely break down in foreseeable future.”
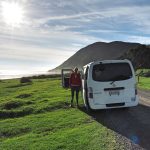
Instead he mentioned to have a nice van still available on his courtyard which would not be too expensive and with 8 years and 140’000 km – a real deal. After test driving the van and negotiating the package we decided to go for it. The administrative steps to get the deal done were extremely easy: The dealer exchanged the papers at a local garage, then we went to the post office to get our REGO done and we managed an insurance for the van overnight. Project DIY shall start immediately…
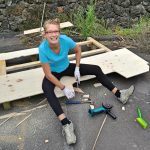
Project team: CCO (Chief Creative Officer) Emilie, JDFF (Just Drill For Fun) Dominik and LB (Large Bulk) Mike
Years of experience: -1
Necessary skills: NO clue
Tools available: None
Construction plan: Not existing
Timeline: ASAP
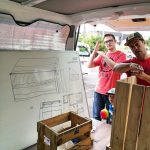
While we were parking the van in front of our Airbnb, the Chinese host came out and was obviously interested in our van and asked what we would be doing in New Zealand. After explaining him our idea to convert the van into a camper, he was very fascinated by our idea and offered us to use some of his tools. It turned out that he had all necessary tools available, in order to be able to manage such a project. WOW!!!!! We could not believe how lucky we were!!!!!!!! The same night we started to research different designs of camper vans and slowly but steady had an idea of how it could look like.
Following day we went into the next DIY store, called Bunnings, to get our first thing sorted out – a measure tape 
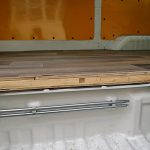
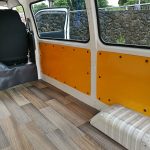
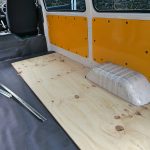
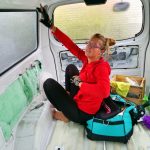
Since we were planning to explore the South Island of New Zealand during winter time, we decided to insulate the flooring and the walls of the van first. Therefore, we bought allergy free insulation material which we put underneath the side panels of the van. Also, the flooring was covered with a double insulation layer before we put the plywood flooring on top (we used the “carpet” of the van in order to draw the form on the previously squared plywood and cut it out afterwards with our circular saw). We also glued a pretty nice vinyl flooring on top of the plywood, giving it an authentic wooden look.
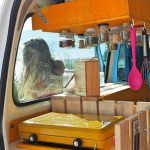
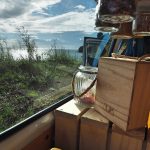
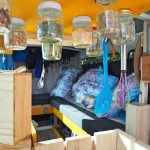
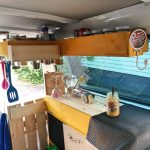
Thereafter, we started to build the interior of the van with mainly bed lads which we cut accordingly to the size of our planned kitchen, bathroom and bed. The kitchen should have a double stove and a 5 kg gas bottle in order to have enough fuel for a couple of weeks before changing it again. Emilie built the cupboard which we equipped with small preserving jars in which we would store different spices. WE LOVED IT! Furthermore, we attached some hooks at the side of the cupboard in order to attach cooking spoons or any other kitchen equipment. The table of the kitchen received a nice layer of painting before we used it officially (made absolutely sense because of the cooking later on – spilling risk
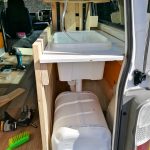
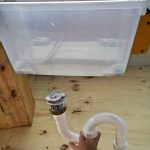
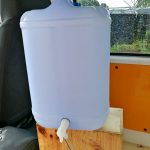
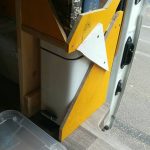
The bathroom was the next step and the most difficult part in our van. It took us ages to figure out the height of the fresh water supply, the sink and the grey water. What the heck is a smell trap, a hose, a vent, etc. Never heard of but was required in order to get the highly desired self-contained certificate from the camper association (our last hurdle before starting our camper life). After some days of try and error and consulting with Kerry and other people from Bunnings, we finally managed to install also the bathroom including the plumbing as the most difficult job
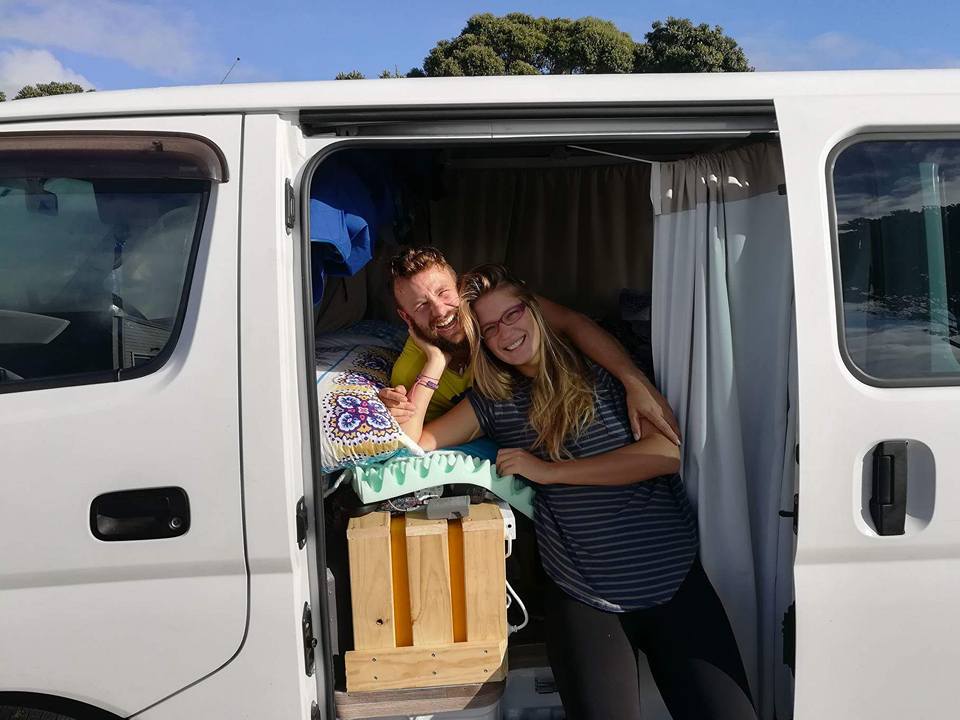
The bed seemed to be easy but also here we did some quick try and errors (we worked according to Jeff Bezos decision making process: after 70 % planning, give it a go and see if it works, or try enougher method :). In the end we constructed a bed which was unfordable, doing a job as a couch during day time and a bed during night time. We should also find a tailor made mattress at the Rubber Store and bought the covers at a tailor who had some nice yarn left. Emilie then showed her great talent in stitching the covers together, giving it an extremely professional look. Another task done!
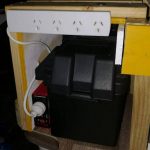
Another question was how do we get our mobile phones and other electrical equipment charged while camping for a couple of days in the nature? We decided to install a deep cycle battery which we bought from xxx. We had no clue on how to proceed and discovered just by chance a car battery dealer next to Bunnings 
For the curtains we decided to go for thermal curtains, which turned out to be the perfect choice – especially when it gets super cold outside. We drilled some wholes in the chassis, put some hooks inside and connected them with a stretchable line (all available in Bunnings). We cut the curtain accordingly and used special curtain strips to stick them together in order to fix them to the lines.
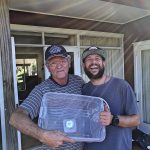
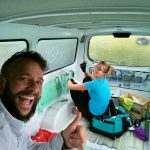
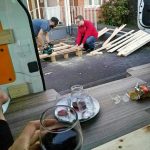
After 3 weeks we finally managed the impossible (with the great help of unbelievable friendly people; especially also Mike who was staying together with us at the airbnb and who helped us almost every day. We will not forget his 5 kg coffee tin and 10 kg bag of rice – it is cheaper ^^)
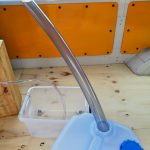
The last challenge was to obtain the self-contained certificate. We managed to fix a date and time and showed up at a camping place where two camper veterans were already awaiting us. N.b., For the first certification there are always two inspectors needed. Everything seemed to be fine and were already convinced of our victory when one of the supervisors discovered the lacking vent in the grey water system. WHAT! THE! HECK! IS! A! VENT!? Apparently, it is just a tube which needs to be connected to the tank… After a minute of disappointment, Dominik yelled: WAIT A MOMENT, pulled out his knife and cut a whole in the tank. Emilie brought the remaining hose which we had left and put it into the whole… voila, the vent!!!! LOL… we came thorough and could start our road trip! VICTORY! Challenge mastered!




Thank you Fabio, and even more for helping on the blog management
Hey dominik! That’s soooo coool! I wish you both all the best! and keep on rockin’